Have you ever wondered how to recreate the sophisticated taste of French eclairs without the intimidating pastry work or hours in the kitchen? This no-bake eclair cake transforms the classic dessert into an effortless layered masterpiece that delivers all the creamy, chocolatey satisfaction you crave. With just a handful of pantry staples and zero baking required, you’ll have an impressive dessert that looks like it came from a French patisserie.
This beloved family recipe has been passed down through generations, offering the perfect solution for busy home cooks who want to serve something spectacular without the stress. The combination of crispy graham crackers, silky vanilla pudding, and rich chocolate frosting creates layers of texture and flavor that rival any bakery creation.
Ingredients List
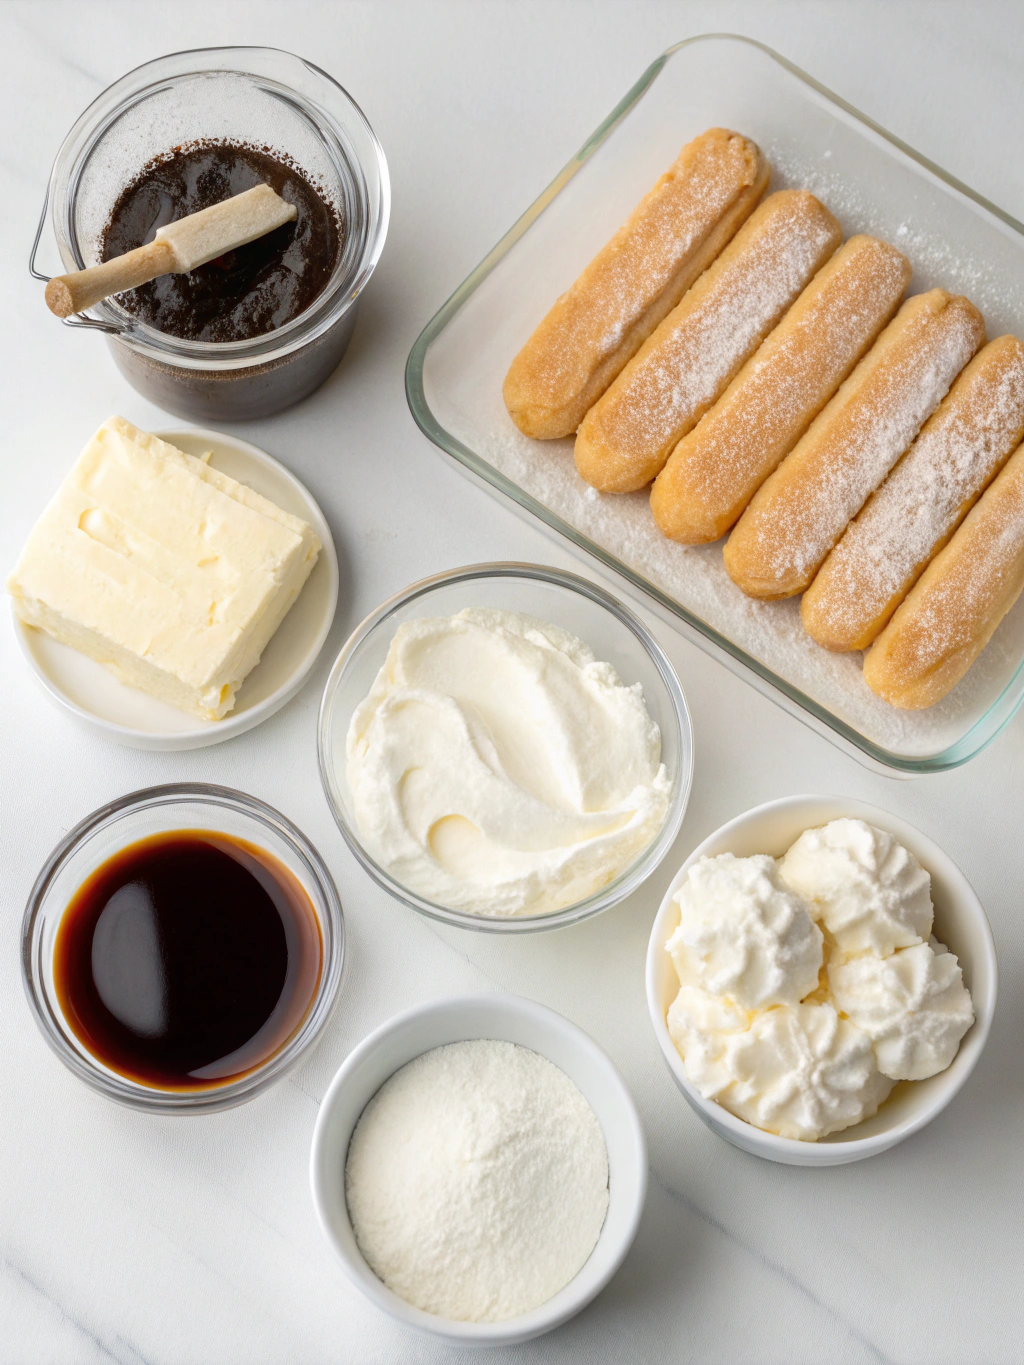
Gathering your ingredients is the first step to no-bake eclair cake success. Each component plays a crucial role in creating the perfect balance of flavors and textures that make this dessert so irresistible.
- 2 boxes (3.4 oz each) instant vanilla pudding mix – The creamy foundation that mimics traditional eclair filling
- 3 cups cold whole milk – Creates the perfect pudding consistency (can substitute with 2% milk for lighter option)
- 1 container (8 oz) frozen whipped topping, thawed – Adds lightness and volume to the pudding layer
- 1 box (14.4 oz) honey graham crackers – Forms the cake-like layers that soften beautifully overnight
- 1 container (16 oz) chocolate frosting – The crowning glory that seals in all the flavors
- 2 tablespoons milk or heavy cream – Helps create a smooth, spreadable chocolate topping
For ingredient substitutions, consider using sugar-free pudding mix for diabetic-friendly options, or swap honey grahams for chocolate graham crackers to intensify the chocolate experience. Greek yogurt can replace half the whipped topping for added protein and tanginess.
Timing
This easy no-bake dessert requires minimal active preparation time, making it perfect for busy schedules or last-minute entertaining needs.
Preparation time: 20 minutes of hands-on assembly
Chilling time: 4-24 hours for optimal texture development
Total time: 4 hours 20 minutes minimum, though overnight chilling yields superior results
Compared to traditional eclair preparation that can take 3-4 hours including baking and cooling time, this method reduces active work by 85% while delivering comparable taste satisfaction.
Step-by-Step Instructions

Step 1: Prepare the Pudding Base
In a large mixing bowl, whisk together both boxes of instant vanilla pudding mix with 3 cups of cold milk. Beat vigorously for 2 minutes until the mixture thickens to a smooth, creamy consistency. The key is ensuring no lumps remain, as these will affect the final texture of your no-bake eclair cake.
Step 2: Fold in Whipped Topping
Gently fold the thawed whipped topping into the prepared pudding using a rubber spatula. Use a folding motion rather than stirring to maintain the light, airy texture. The mixture should be uniform in color and consistency, resembling traditional eclair cream filling.
Step 3: Create the First Graham Cracker Layer
Line the bottom of a 9×13 inch baking dish with a single layer of whole graham crackers. Break crackers as needed to fit snugly, covering the entire bottom surface. This foundation layer will absorb moisture and transform into a cake-like texture during chilling.
Step 4: Add First Pudding Layer
Spread half of the pudding mixture evenly over the graham crackers using an offset spatula. Ensure complete coverage to the edges, creating a smooth, uniform layer approximately ½ inch thick.
Step 5: Repeat Layering Process
Add another complete layer of graham crackers over the pudding, followed by the remaining pudding mixture. Top with a final layer of graham crackers, pressing gently to ensure good contact with the pudding below.
Step 6: Prepare Chocolate Topping
In a microwave-safe bowl, warm the chocolate frosting for 30-45 seconds until slightly softened. Stir in 2 tablespoons of milk or cream until the mixture reaches a smooth, spreadable consistency that will glide easily over the graham crackers.
Step 7: Apply Final Chocolate Layer
Pour the thinned chocolate frosting over the top graham cracker layer, using a spatula to spread evenly to all edges. The frosting should create a smooth, glossy finish that seals the layers beneath.
Step 8: Chill and Set
Cover the dish tightly with plastic wrap and refrigerate for at least 4 hours, though overnight chilling produces optimal results. During this time, the graham crackers will soften and meld with the pudding, creating the signature cake-like texture.
Nutritional Information
Each serving of this indulgent dessert (based on 12 servings per 9×13 pan) contains approximately 285 calories, making it a moderate treat when enjoyed in appropriate portions.
Per serving breakdown:
Calories: 285 | Fat: 8g | Saturated Fat: 6g | Carbohydrates: 48g | Sugar: 35g | Protein: 4g | Sodium: 420mg | Fiber: 1g
The dessert provides calcium from the milk and pudding components, contributing about 15% of daily calcium needs per serving. However, it’s relatively high in added sugars, representing about 70% of the recommended daily limit for added sugars in a single serving.
Compared to traditional bakery eclairs, this version contains approximately 30% fewer calories per equivalent serving size, primarily due to the elimination of butter-heavy pastry shells and the incorporation of lighter whipped topping.
If you’re looking for another delicious treat to enjoy, consider trying your hand at making Homemade Banana Bread Made Easy: Simple & Delicious. This recipe offers a delightful balance of flavors and is perfect for satisfying your sweet tooth.
Healthier Alternatives for the Recipe
Transform this classic into a more nutritious option without sacrificing the beloved flavors that make it special. These modifications can reduce calories by up to 40% while adding beneficial nutrients.
Replace regular pudding mix with sugar-free versions and use unsweetened almond milk to cut calories and carbohydrates significantly. Greek yogurt can substitute for half the whipped topping, adding protein and probiotics while maintaining creamy texture.
Consider using chocolate graham crackers or even crushed vanilla wafers for variety. For gluten-free versions, substitute with gluten-free graham crackers or create layers using sliced pound cake.
Boost nutritional value by folding fresh berries into the pudding layers, adding antioxidants and natural sweetness. A tablespoon of chia seeds mixed into the pudding provides omega-3 fatty acids and fiber without altering taste.
For dairy-free adaptations, use coconut milk for pudding preparation and dairy-free whipped topping. The result maintains the creamy consistency while accommodating dietary restrictions.
Serving Suggestions
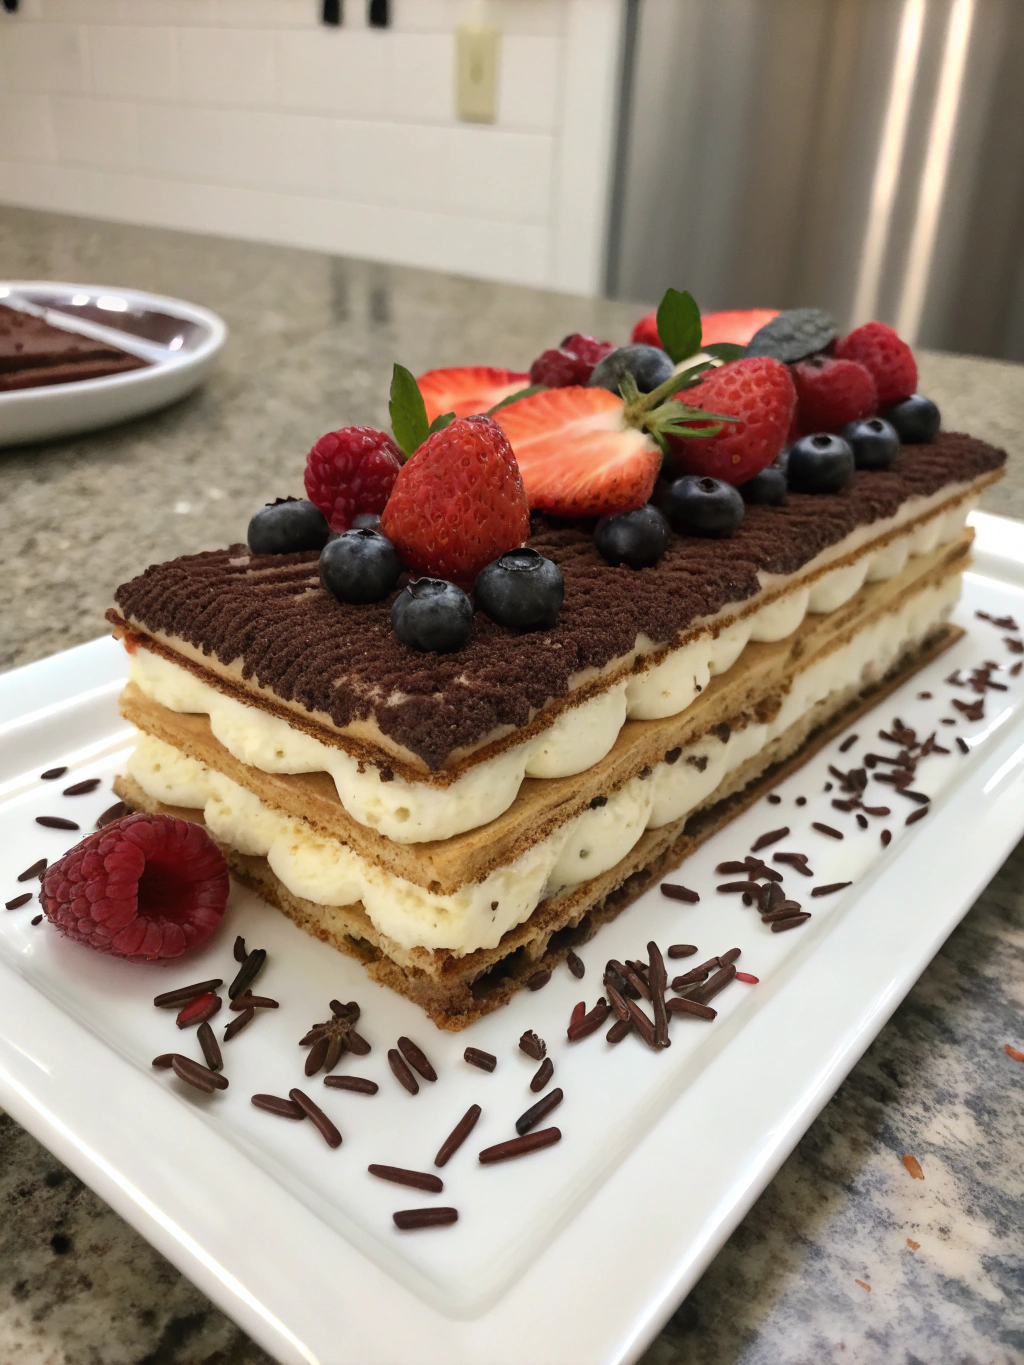
Elevate your presentation with thoughtful garnishes and creative serving ideas that transform this simple dessert into an elegant finale for any meal.
Dust individual squares with powdered sugar and add a fresh strawberry or raspberry for color contrast. The bright fruit complements the rich chocolate while adding a fresh element that cuts through the sweetness.
Create an impressive dessert bar by offering various toppings alongside the cake: crushed nuts, mini chocolate chips, caramel sauce, or fresh whipped cream. This interactive approach lets guests customize their portions.
For special occasions, pipe additional whipped cream rosettes around the edges and drizzle with melted chocolate for a bakery-worthy appearance. Edible flowers like pansies or violets add sophisticated visual appeal.
Serve alongside strong coffee or espresso to balance the sweetness, or pair with a glass of cold milk for a nostalgic combination that appeals to all ages.
To elevate your dessert presentation, you might want to explore our Green Juice Recipe: A Simple, Healthy Detox Drink. This refreshing drink pairs beautifully with rich desserts, providing a vibrant contrast that enhances your meal.
Common Mistakes to Avoid
Success with this recipe depends on avoiding several common pitfalls that can affect texture and flavor development.
- Using warm milk for pudding: Always use cold milk to ensure proper thickening and prevent lumpy texture
- Overmixing the pudding and whipped topping: Gentle folding preserves the light, airy consistency essential for proper layering
- Insufficient chilling time: Rushing the process results in graham crackers that remain too crispy rather than achieving cake-like softness
- Applying frosting too thick: Heavy frosting can overwhelm the delicate balance of flavors and make serving difficult
- Leaving gaps in graham cracker layers: Incomplete coverage creates uneven texture and appearance in the final product
- Not covering during chilling: Exposed surfaces can develop a skin or absorb refrigerator odors
Temperature consistency is crucial – ensure all ingredients are properly chilled before assembly to maintain structural integrity throughout the setting process.
Storing Tips for the Recipe
Proper storage techniques ensure your dessert maintains optimal taste and texture for several days, making it perfect for meal prep or entertaining advanced preparation.
Cover the completed cake tightly with plastic wrap, pressing directly onto the chocolate surface to prevent condensation. Alternatively, use aluminum foil for longer storage periods. The dessert will maintain peak quality for up to 4 days refrigerated.
For individual servings, cut the cake and store portions in airtight containers with parchment paper between layers. This method prevents sticking and makes grab-and-go servings convenient for packed lunches or quick snacks.
Avoid freezing this dessert, as the pudding and whipped topping components don’t freeze well and will separate upon thawing, resulting in a watery, unappetizing texture.
If preparing components ahead, mix the pudding up to 24 hours in advance and store covered in the refrigerator. Assemble the complete cake no more than 2 days before serving for optimal results.
For those who love bakery-style treats, check out our Quick Raspberry Cream Croissants: A Simple Bakery-Style Treat. These croissants are a delightful addition to any dessert table and are easy to prepare ahead of time.
Conclusion
This simple no-bake eclair cake proves that impressive desserts don’t require complicated techniques or professional equipment. With just 20 minutes of preparation and a few hours of patience, you’ll create a show-stopping dessert that rivals any bakery creation.
The beauty of this recipe lies in its versatility and forgiving nature, perfect for novice bakers and busy families alike. Whether you’re planning a potluck contribution, holiday dessert, or simple weeknight treat, this cake delivers consistent, crowd-pleasing results every time.
Ready to experience the magic of this effortless dessert? Gather your ingredients tonight and let time work its magic while you sleep. Wake up to a perfectly set cake that’s ready to impress! Share your creative variations and family reactions in the comments below – we’d love to hear how this classic recipe becomes part of your family traditions.
Simple No-Bake Eclair Cake: An Old-Fashioned Favorite Made Easy
Ingredients
Method
- In a large mixing bowl, whisk together both boxes of instant vanilla pudding mix with 3 cups of cold milk. Beat vigorously for 2 minutes until the mixture thickens to a smooth, creamy consistency.
- Gently fold the thawed whipped topping into the prepared pudding using a rubber spatula.
- Line the bottom of a 9x13 inch baking dish with a single layer of whole graham crackers.
- Spread half of the pudding mixture evenly over the graham crackers using an offset spatula.
- Add another complete layer of graham crackers over the pudding, followed by the remaining pudding mixture.
- Top with a final layer of graham crackers, pressing gently to ensure good contact with the pudding below.
- In a microwave-safe bowl, warm the chocolate frosting for 30-45 seconds until slightly softened. Stir in 2 tablespoons of milk or cream until the mixture reaches a smooth, spreadable consistency.
- Pour the thinned chocolate frosting over the top graham cracker layer, using a spatula to spread evenly to all edges.
- Cover the dish tightly with plastic wrap and refrigerate for at least 4 hours, though overnight chilling produces optimal results.
Notes
If you enjoy this no-bake eclair cake, you might also appreciate the flavors in our Cranberry Goat Cheese Salad. This salad offers a refreshing contrast to rich desserts and is perfect for balancing your meal.
The no-bake eclair cake is a delightful dessert that simplifies the traditional eclair, allowing anyone to enjoy its rich flavors without the need for baking. This easy-to-make treat combines layers of creamy pudding and chocolate frosting, making it a popular choice for gatherings and family celebrations, as detailed in dessert discussions.