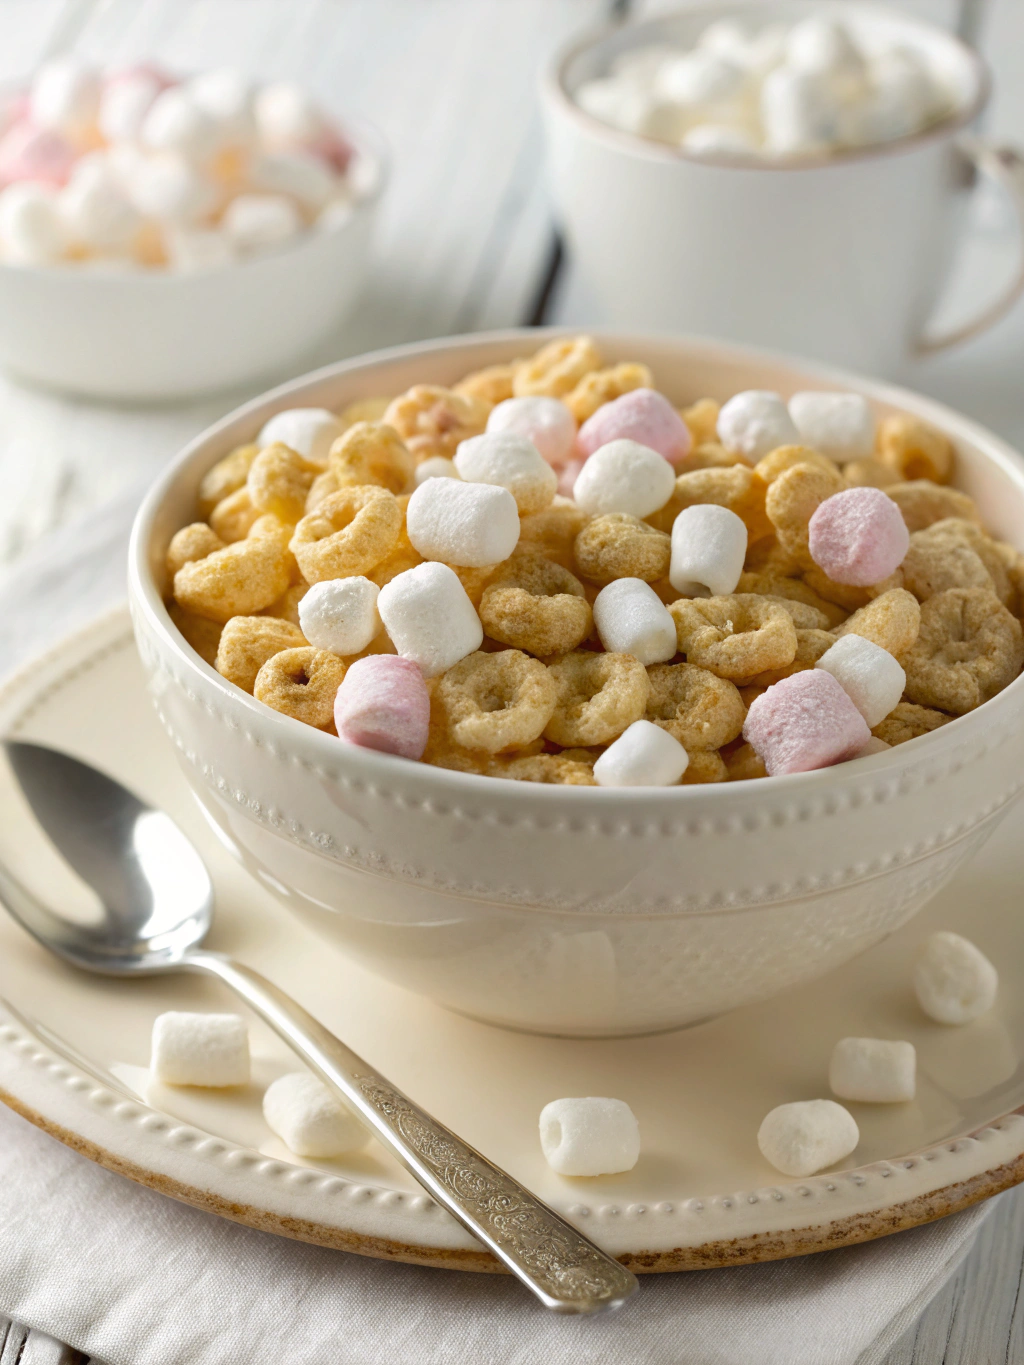
Are you ready to serve up the most deliciously disgusting treat that will have your Halloween guests screaming with delight? This spine-chilling Marshmallow Rice Bubbles recipe transforms ordinary ingredients into eerily realistic brain-shaped treats that look horrifyingly authentic but taste absolutely divine.
Perfect for Halloween parties, these no-bake wonders combine the nostalgic crunch of Rice Bubbles with gooey marshmallows, creating a texture that’s both satisfying and surprisingly brain-like. The best part? You can whip up these ghoulish goodies in under 30 minutes without turning on your oven.
Whether you’re hosting a monster movie marathon or need show-stopping treats for trick-or-treaters, this recipe delivers maximum impact with minimal effort. The realistic appearance will fool even the bravest souls at your Halloween gathering.
Ingredients List
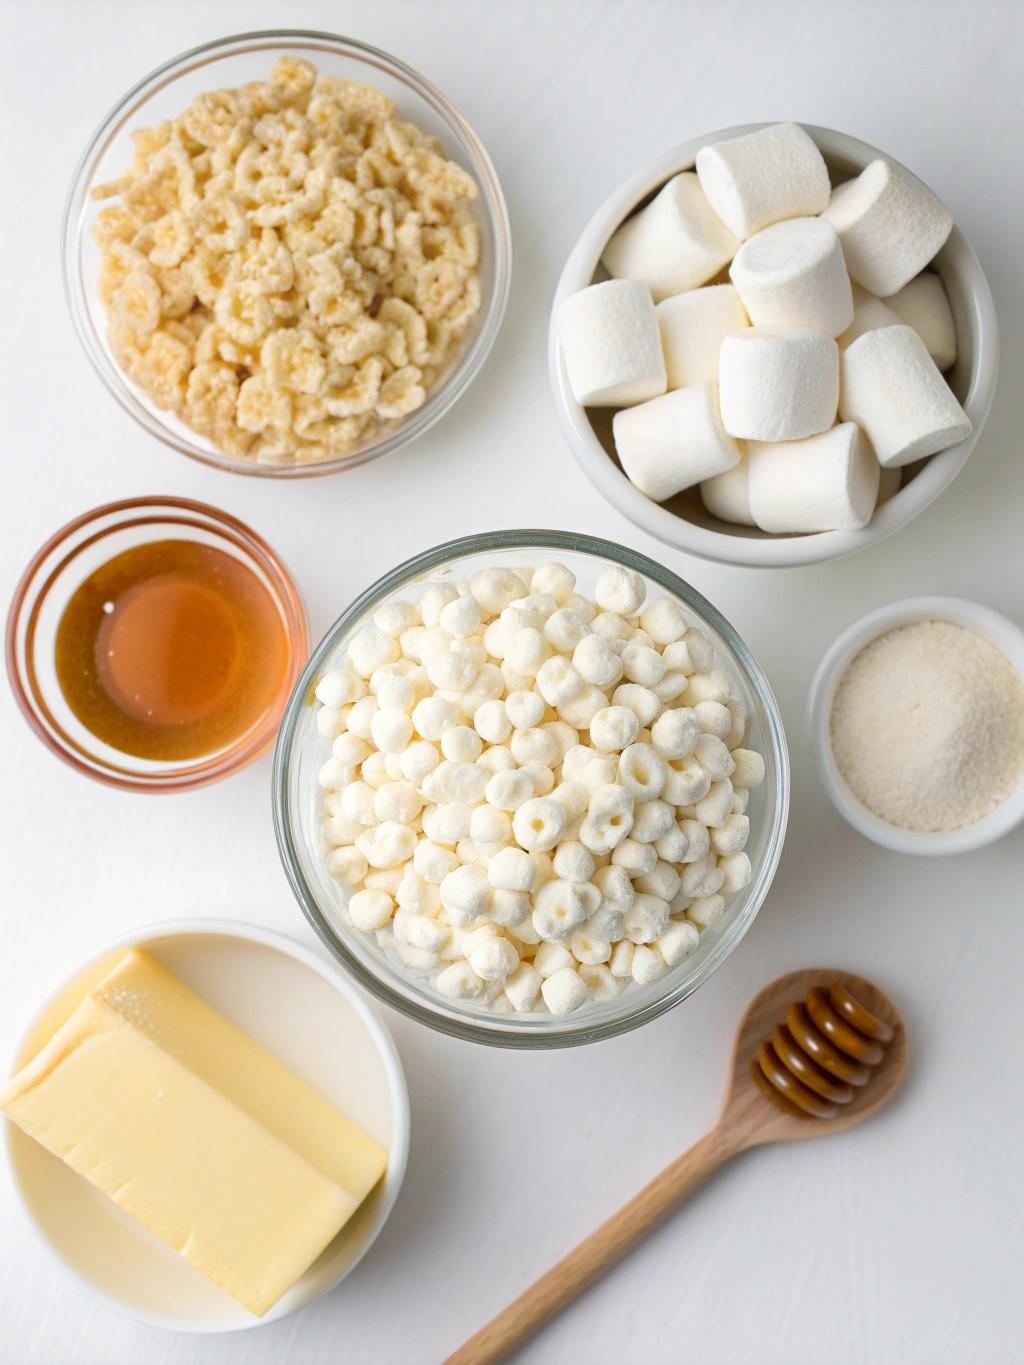
Gather these simple yet effective ingredients to create your terrifyingly tasty brain treats:
- 6 cups Rice Bubbles cereal (or Rice Krispies as substitute)
- 4 cups mini marshmallows (white for authentic brain color)
- 3 tablespoons butter or margarine
- Red food coloring (gel works best for vibrant color)
- Pink food coloring (optional, for realistic brain hues)
- Cooking spray or additional butter for greasing
- Brain-shaped molds or large spoons for shaping
For dietary substitutions, use vegan marshmallows and plant-based butter to accommodate different preferences. Sugar-free marshmallows work wonderfully for those watching their sugar intake, though the texture may vary slightly.
The beauty of this recipe lies in its flexibility. If you can’t find brain molds, simply use your hands to shape the mixture into brain-like formations while it’s still warm and pliable.
Timing
This frighteningly fast recipe requires minimal time investment for maximum Halloween impact:
Preparation time: 10 minutes
Cooking time: 5 minutes
Setting time: 15 minutes
Total time: 30 minutes
At just 30 minutes from start to finish, this recipe is 60% faster than traditional baked Halloween treats. The quick preparation makes it perfect for last-minute party additions or when unexpected guests arrive at your haunted doorstep.
Step-by-Step Instructions
Step 1: Prepare Your Workspace
Line a large baking sheet with parchment paper and lightly grease brain molds or your hands with cooking spray. Set up your workspace with all ingredients within easy reach, as the mixture sets quickly once cooled.
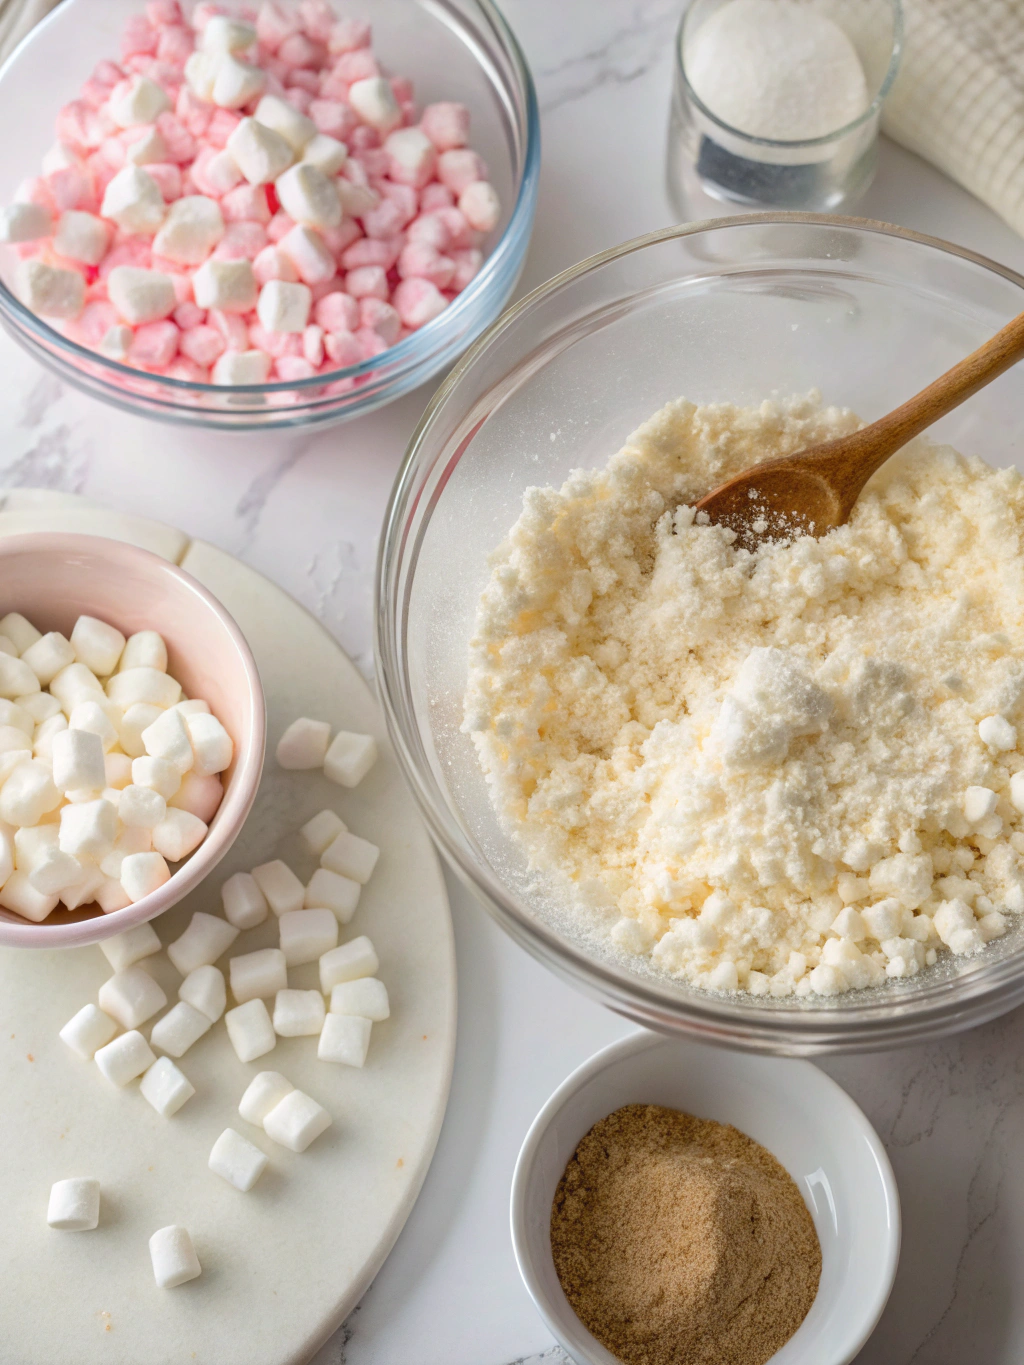
Step 2: Melt the Marshmallow Base
In a large microwave-safe bowl, combine butter and marshmallows. Microwave in 30-second intervals, stirring between each interval, until completely melted and smooth. This typically takes 90 seconds to 2 minutes total.
Step 3: Add the Crunch Factor
Immediately add Rice Bubbles to the melted marshmallow mixture. Stir quickly but thoroughly until every bubble is coated with the sticky marshmallow goodness. Work fast as the mixture begins setting as it cools.
Step 4: Create the Brain Effect
Add 3-4 drops of red food coloring to the mixture. Don’t mix completely – you want marbled streaks that resemble blood vessels. Add a drop of pink coloring for extra realism if desired.
Step 5: Shape Your Brains
Using greased hands or brain molds, shape the mixture into brain-like forms. Press firmly to ensure the treats hold together, but don’t compress too much as you want to maintain the Rice Bubbles’ texture.
Step 6: Final Touches
Use a knife or your finger to create brain-like grooves and ridges on the surface. Add extra drops of red coloring to these crevices for a more realistic bloody brain appearance.
Step 7: Set and Serve
Allow the Marshmallow Rice Bubbles brains to set for 15 minutes at room temperature before serving. For firmer treats, refrigerate for 10 minutes.
Nutritional Information
Each brain-shaped treat (approximately 1/12 of the recipe) contains roughly:
Calories: 145
Carbohydrates: 32g
Sugars: 18g
Protein: 2g
Fat: 2g
Fiber: 0.5g
Sodium: 95mg
While these treats are indulgent, they’re surprisingly lower in calories than many traditional Halloween candies. The Rice Bubbles provide some B vitamins and iron, though this recipe is definitely designed for enjoyment rather than nutrition.
Compared to chocolate-based Halloween treats, these spooky desserts contain 25% fewer calories per serving while delivering the same satisfying sweetness and festive appeal.
While these treats are indulgent, they’re not the only spooky dessert you can create this Halloween. Check out our Spooky Halloween Eyeball Cupcakes: Easy & Spooky Recipe for another frightfully delicious option.
Healthier Alternatives for the Recipe
Transform this treat into a slightly healthier option without sacrificing the spooky factor:
Replace regular marshmallows with sugar-free versions to reduce overall sugar content by approximately 40%. The texture remains nearly identical, making this swap virtually undetectable.
Substitute half the Rice Bubbles with puffed quinoa for added protein and fiber. This ancient grain adds a subtle nutty flavor while boosting the nutritional profile significantly.
Use coconut oil instead of butter for a dairy-free alternative that adds subtle tropical notes. The coconut oil also helps the treats set more firmly at room temperature.
Add a tablespoon of chia seeds for omega-3 fatty acids and extra crunch. The small black seeds also enhance the brain-like appearance when mixed throughout.
Serving Suggestions
Present these ghoulish Marshmallow Rice Bubbles brains with maximum dramatic impact:
Arrange the brains on a dark platter surrounded by dry ice for an eerie smoking effect. Always handle dry ice with tongs and ensure proper ventilation.
Create a “mad scientist’s laboratory” display using glass beakers filled with colored water and plastic syringes filled with red corn syrup for extra gore factor.
Serve alongside other body part treats like “finger” cookies and “eyeball” cake pops for a complete horror-themed dessert table that will have guests both disgusted and delighted.
For kids’ parties, tone down the gore by using less red coloring and presenting the treats as “alien brains” or “zombie food” with fun labels and Halloween-themed serving utensils.
To enhance the presentation of your brain-shaped treats, consider creating a dramatic display. For more ideas, explore our Ghostly Meringue Cupcakes: Easy Halloween Recipe that will surely impress your guests.
Common Mistakes to Avoid
Sidestep these frequent pitfalls to ensure your brain treats turn out perfectly terrifying:
- Overheating marshmallows: Excessive heat creates a tough, chewy texture. Always use 30-second intervals and stir between heating sessions.
- Adding Rice Bubbles too slowly: The marshmallow mixture sets quickly, so add all cereal at once and mix rapidly for even coating.
- Over-mixing the food coloring: Complete blending eliminates the realistic marbled blood vessel effect. Gentle swirling creates the most authentic appearance.
- Shaping when too cool: Once the mixture cools, it becomes difficult to mold. Work quickly while the mixture is still warm and pliable.
- Skipping the grease: Ungreased hands and molds result in sticky disasters. Always prepare surfaces before beginning the recipe.
Storing Tips for the Recipe
Proper storage ensures your Marshmallow Rice Bubbles brains maintain their terrifying appearance and delicious taste:
Store completed treats in an airtight container at room temperature for up to one week. Layer treats between parchment paper to prevent sticking and maintain their shape.
For longer storage, freeze individual brains wrapped in plastic wrap for up to three months. Thaw at room temperature for 30 minutes before serving.
Avoid refrigeration unless absolutely necessary, as cold temperatures can make the marshmallow base overly firm and less enjoyable to eat.
If making ahead for a party, prepare the treats up to three days in advance. Store them in a cool, dry place away from direct sunlight to prevent melting or color fading.
For transport, use a rigid container with secure lid and pack treats snugly to prevent movement during travel. The treats are surprisingly durable once fully set.
Proper storage ensures your Marshmallow Rice Bubbles brains maintain their terrifying appearance and delicious taste. For additional spooky appetizers, check out our Creepy Deviled Eggs: A Spooky Savory Appetizer For Halloween.
Conclusion
This Halloween Brains Marshmallow Rice Bubbles recipe proves that the most memorable treats often come from the simplest ingredients combined with creative presentation. In just 30 minutes, you’ll create show-stopping desserts that perfectly balance disgusting appearance with delicious taste.
The versatility of this recipe makes it perfect for any Halloween celebration, from intimate family gatherings to large costume parties. The no-bake convenience means you can focus on other party preparations while still delivering impressive homemade treats.
Ready to gross out your guests in the most delightful way possible? Grab your ingredients and start creating these spine-chilling brain treats today! Share your creepy creations on social media and tag us – we love seeing how our recipes come to life in your kitchen. What other body parts will you recreate next?
Halloween Brains: Marshmallow Rice Bubbles Recipe
Ingredients
Method
- Line a large baking sheet with parchment paper and lightly grease brain molds or your hands with cooking spray.
- In a large microwave-safe bowl, combine butter and marshmallows. Microwave in 30-second intervals, stirring between each interval, until completely melted and smooth.
- Immediately add Rice Bubbles to the melted marshmallow mixture. Stir quickly but thoroughly until every bubble is coated.
- Add 3-4 drops of red food coloring to the mixture. Don't mix completely to keep marbled streaks.
- Using greased hands or brain molds, shape the mixture into brain-like forms.
- Use a knife or your finger to create brain-like grooves and ridges on the surface.
- Allow the Marshmallow Rice Bubbles brains to set for 15 minutes at room temperature before serving.
Notes
This spine-chilling Marshmallow Rice Bubbles recipe transforms ordinary ingredients into eerily realistic brain-shaped treats. If you’re looking for more fun Halloween recipes, try our Halloween Spider Cookies: Easy Recipe for Kids.
The tradition of creating spooky treats for Halloween has become a beloved part of the holiday, with many recipes designed to delight and frighten. Explore the fascinating history of Halloween celebrations and their culinary customs through this Halloween link.